Raspberry Pi GPIO-Triggered Video Player script
Raspberry Pi GPIO-Triggered Video Player script
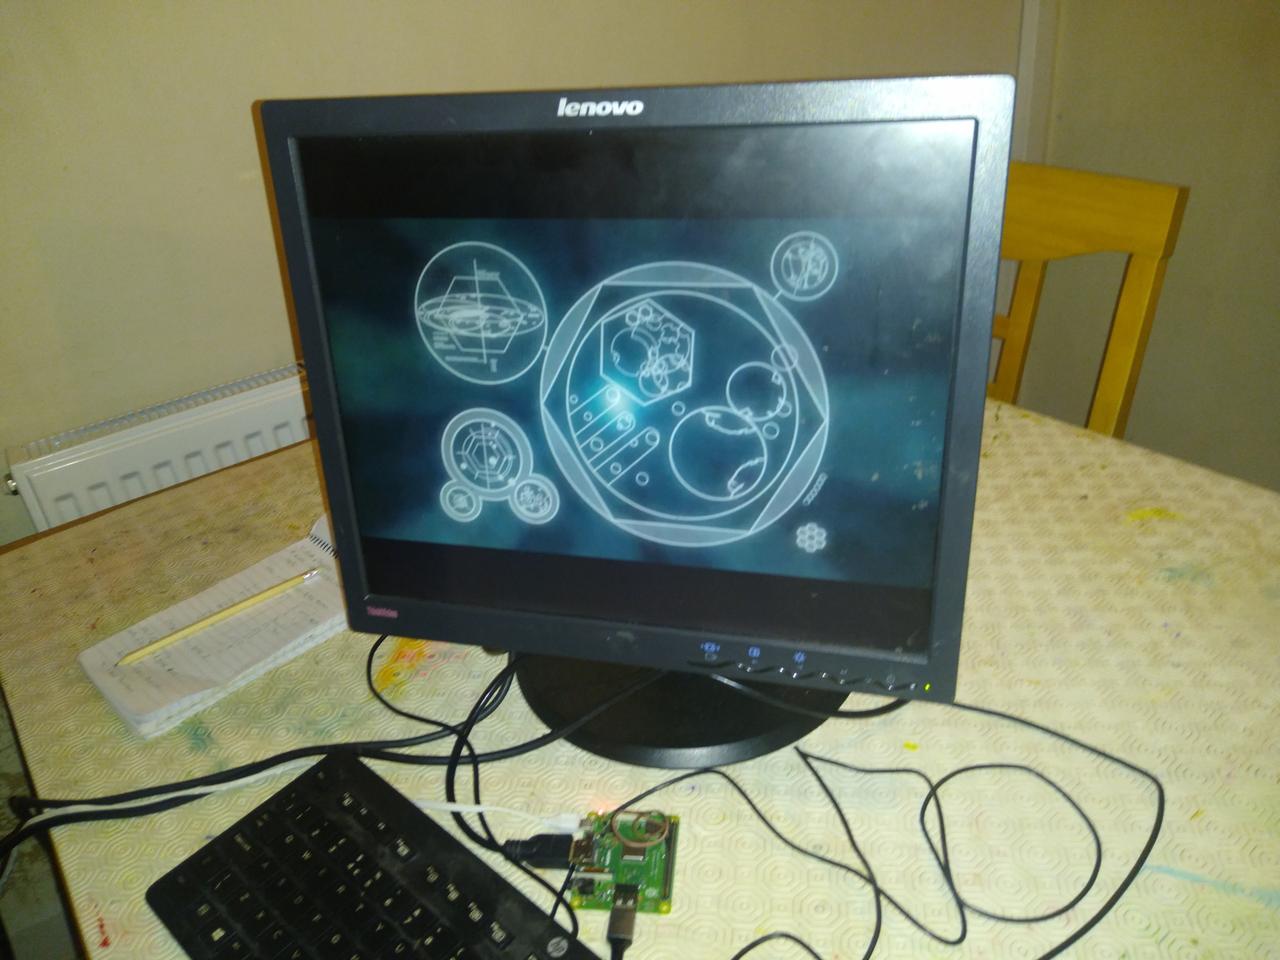 Video player running on RPi 3 Model A.
I've been sitting on this for too long, and my friend Chris wanted to see the blog post I had done about it, and I had to admit I hadn't done it yet. Sorry, I have a backlog and other things to do - bite me!
Anyway, Chris recently asked me to help him with a video player which was going to run on a Raspberry Pi 3 Model A+. He has a number of video files which he wants to be displayed when a particular push-button switch is pressed - not a keyboard buttons, but physical momentary-action switches, wired to the GPIOs. It's going to be installed in a console in one of his Dr Who prop repro projects, so a physical keyboard is not going to be available. It needs to start automatically, and play a "default" video on loop, only switching when a button is pressed.
He'd found several scripts to do this, they either didn't quite do what he wanted, were limited in some way, or were so old they required sofware that isn't part of the Raspberry Pi OS any more. We looked at several of these scripts, and I decided it would actually be best to write it as a BASH shell-script, rather than in Python, because it's really just a process manager - launching a new video player when a button is pressed. This is slightly easier to do in BASH than Python, and is less prone to supporting software becoming removed from the OS.
We got some inspiration from this project on Instructables: https://www.instructables.com/Play-Video-With-Python-and-GPIO/ but I didn't like the way that to add another video, you have to copy-and-paste a new "if" clause every time. The list of videos and their triggering GPIO should just be data, and adding a new one should just require adding an extra definition in the controlling list. This makes it easy for non-coders modify the list of videos as they need, by using the existing list entries as examples.
The above Instructable is one of those that uses a program that's no longer included in the package repository - omxplayer - so we opted for "cvlc" instead. It has the added advantage that it will also play without having to have a GUI desktop, meaning quicker boot-up, and smoother operation. It also allows smoother playing of videos, because there is less "code" between the player and the screen hardware - GUIs actually impose quite an overhead as data has to be passed through many layers of subsystems. This approach bypasses a lot of that, and the smoothness of play benefits.
To play a video on repeat, you can just do:
cvlc --no-video-title-show $videoname
It tends to output unwanted messages occasionally, so we ended up tacking a redirection onto the end to prevent that:
cvlc --no-video-title-show $videoname > /dev/null 2>&1 &
The bit on the end redirects "stdout" (the standard output file) and "stderr" (the standard error file)
to /dev/null, the system's "black hole", effectively "throwing away" any messages that the program
produces in operation. Well, obviously not the video it's playing, though.
For GPIO read and write functions, there's a standard RPi OS utility, called "raspi-gpio". It's easy to use from within a shell-script.
You can set GPIO pin states with raspi-gpio set followed by the pin number and then a setting. We want to
use "pullup" mode, so that we can wire each switch to ground; this means that the pin is "pulled up" to
3.3 volts internally, but when you connect it to ground, for example by pressing a button, it will be
"pulled down" to 0 volts, and we can detect that by asking what its state is.
The command to do this is:
raspi-gpio set 2 pu
Which would set GPIO pin 2 to "pull up" mode. There are other modes, of course - go and take a look!
To read a GPIO's state, you use raspi-gpio get, again followed by the pin number, like this:
raspi-gpio get 2
The program then reports back the specified pin's state as "level=0" for low and "level=1" for high. We can then look at what it reports back in the shell-script, and act accordingly. Unfortunately, there isn't a way to ask "which pins are low" - you have to poll them one after another, so we wrap that up in a loop that goes through each of the pins we are using, asking if they are low.
We needed an easy way to keep a list of which GPIOs would trigger which videos, and the "best" way to do this in BASH is to use an associative array. This allows us to have an easy-to-exit list of entries like this:
declare -A vids
vids["2"]="/home/thedoctor/Vids/vortex 1.mp4"
vids["3"]="/home/thedoctor/Vids/vortex 2.mp4"
vids["4"]="/home/thedoctor/Vids/vortex 3.mp4"
The number in quotes inside the square brackets is the GPIO pin number, and the filename in quotes after the "=" equal sign is the path to the video file to be played for that pin number. To remove one, you can just delete its line, and to add a new one, you can just copy the format of another line, and decide which pin will control it. The order doesn't matter - they don't have to be in ascending order, or any order at all, though it makes it easier to see what's going on if they are.
Now that we had a way to do everything we needed to do, we needed a bit of code to tie it all together. It needs to loop "forever", checking each of the assigned GPIO pins, and launching videos when it finds one which is "low". There's a little bit more to it than that, of course: there will "always" be a video already playing, so we need to kill that off, as long as it's not the same video that we are already playing, and we wanted to ignore "switch bounces", so we put in a short delay after starting a video playing. This is a bit of a kludgey way to do it, but it's simple and it works for this application...
while true; do
    #find any playing video
    vid=`ps aux|grep -o "/home/thedoctor/Vids/.*\.mp4"|head -n1`
    #loop through gpios checking if any are low = activated
        for gpio in ${!vids[@]}; do
        #get the file name of this video
                thisvid=${vids["$gpio"]}
        #read  state of  gpio pin (level =0)
        if [[ `raspi-gpio get $gpio|grep -o "level=."` == "level=0" ]]; then
            #is currently playing video different from the one  requested
            if [[ "$vid" != "$thisvid" ]]; then
                #force the  current video to end
                killall /usr/bin/vlc
                #play the requested video
                cvlc --no-video-title-show "$thisvid"  > /dev/null 2>&1 &
                sleep 1
            fi
        fi
    done

done
The entire source code (all 52 lines of it) can be found here: player.sh
I'm releasing it as GPL-3 licensed - please feel free to use it, or modify it for your own purposes, but please abide by the license if you pass it onto anyone else, and post the code somewhere that they can get to it, and of course tell them where it is!