Raincoat toggle clip
Raincoat toggle clip mini-make
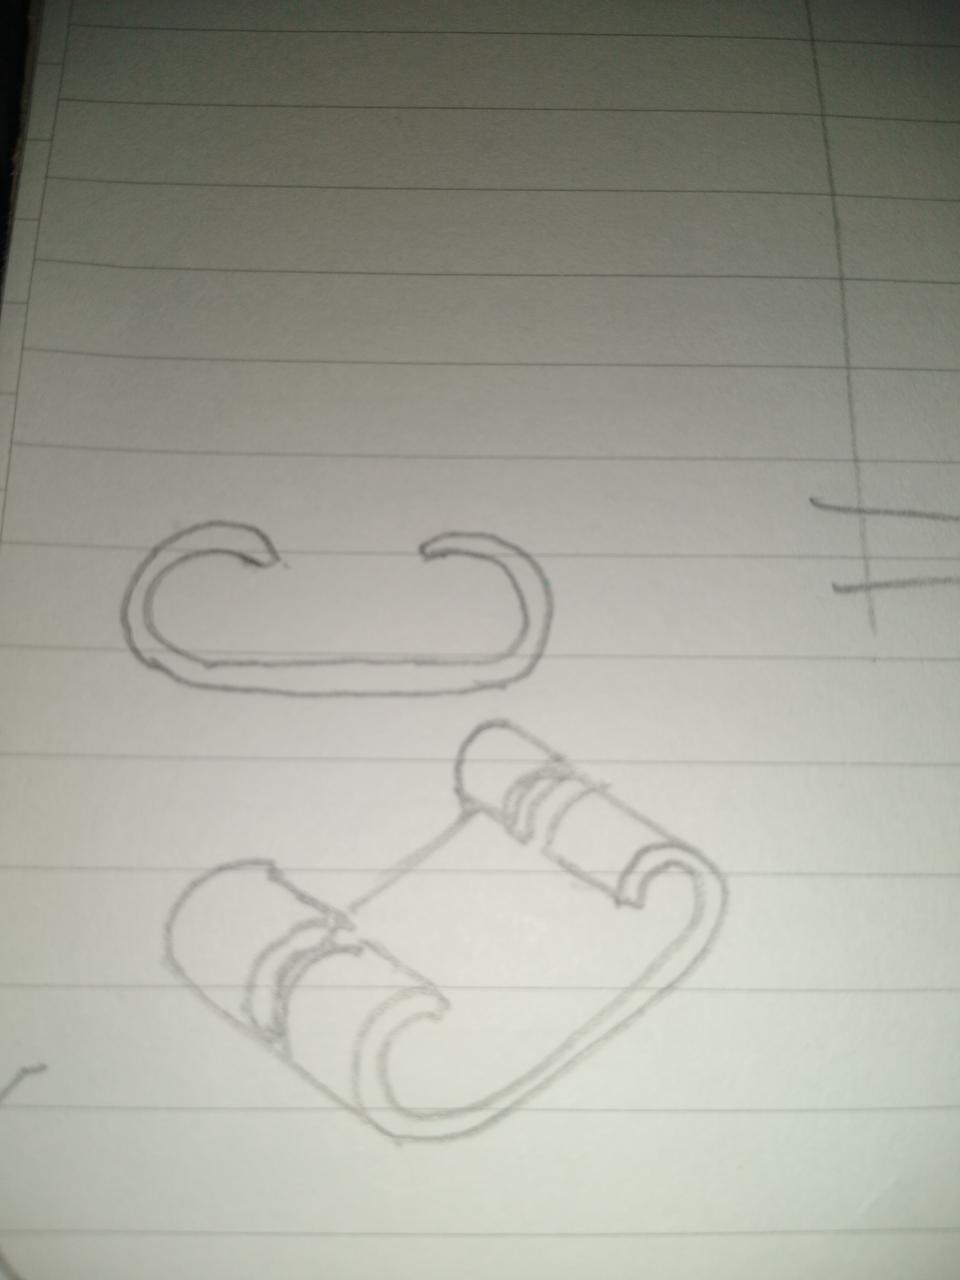
The other day it was pissing down while I was riding back to the train station from work, so I had the hood up on my big yellow high-vis raincoat that I wear on my bike. Problem was, the hood kept blowing off, because it's thin and light, and it doesn't have a way to tie it down at the front. I twisted the toggles together, but they kept coming undone, and I arrived at the station with a very soggy hat, and that got me thinking on the journey home about how I could solve this problem. I decided that tying the toggles in a knot was going to be a nightmare to undo, so I eventually hit on the idea of 3D printing something to hold them together. I mulled it over a bit and sketched out this when I got home, as a reminder to run it up on OpenSCAD later. I'm usually pretty mentally tired after work - Autistic masking takes its toll - so I left it until yesterday, a non-work day, to tackle. Here's what I drew:
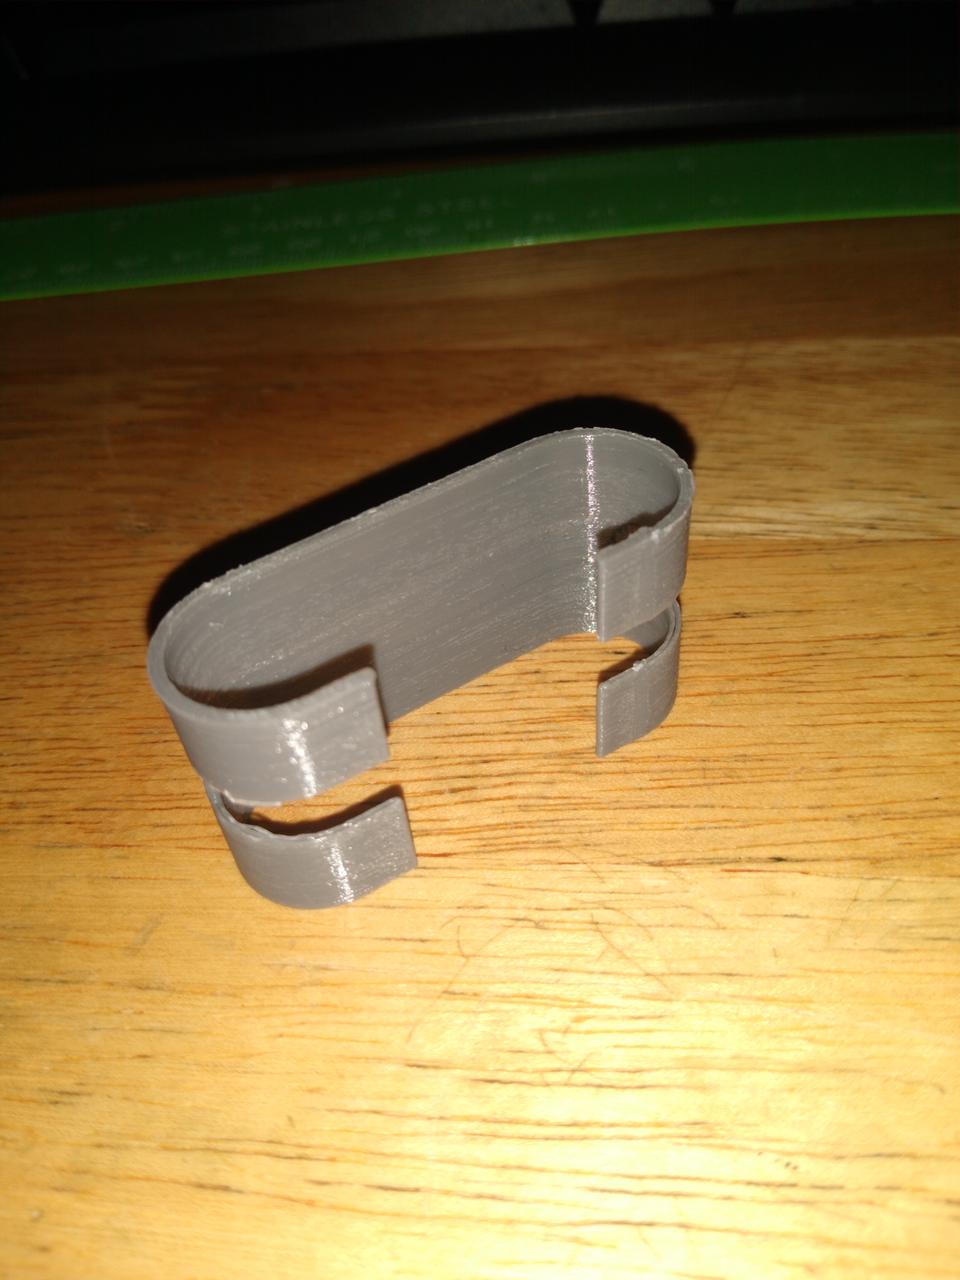
I managed to make a working version after just 2 iterations - I felt the first one was too long long, and the slits were too wide to grip the cord. The toggles fit nicely in the "scrolls", though so no need to adjust that:
After adjustment, the 3D model looks like this:
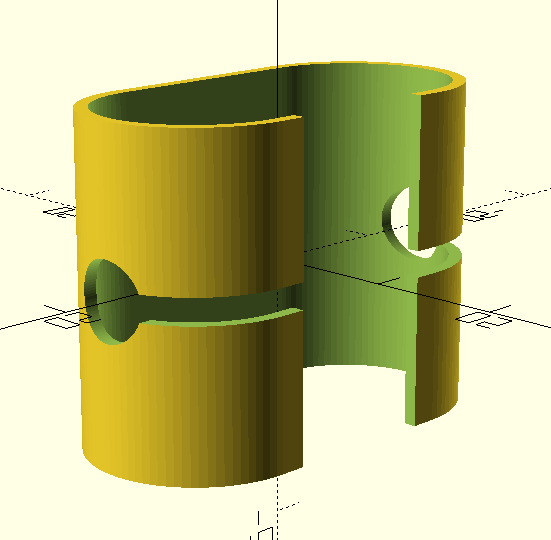
I like to keep my designs as simple as possible - a difficult thing to do when I'm more inclined to overcomplicate things - and I think I managed to achieve that here. A gold star for me! The resulting OpenSCAD code is thus pretty simple too:
$fn=92;
difference(){
    hull(){
        translate([-8,0,0]) cylinder(25,8.5,8.5,center=true);
        translate([8,0,0]) cylinder(25,8.5,8.5,center=true);
    }
    hull(){
        translate([-8,0,0]) cylinder(25.5,7.5,7.5,center=true);
        translate([8,0,0]) cylinder(25.5,7.5,7.5,center=true);
    }
    translate([0,10,0]) cube([12,10,25.5],center=true);
    rotate([0,90,0]) union(){
        translate([0,0,0]) cylinder(50,3,3,center=true);
        translate([0,7.6,0]) cube([2,10,50],center=true);
    }
}
After 3D printing this, I was happy with the result, so it's now on to "operational testing" to see how it performs in use. Here's how it looks on my raincoat:
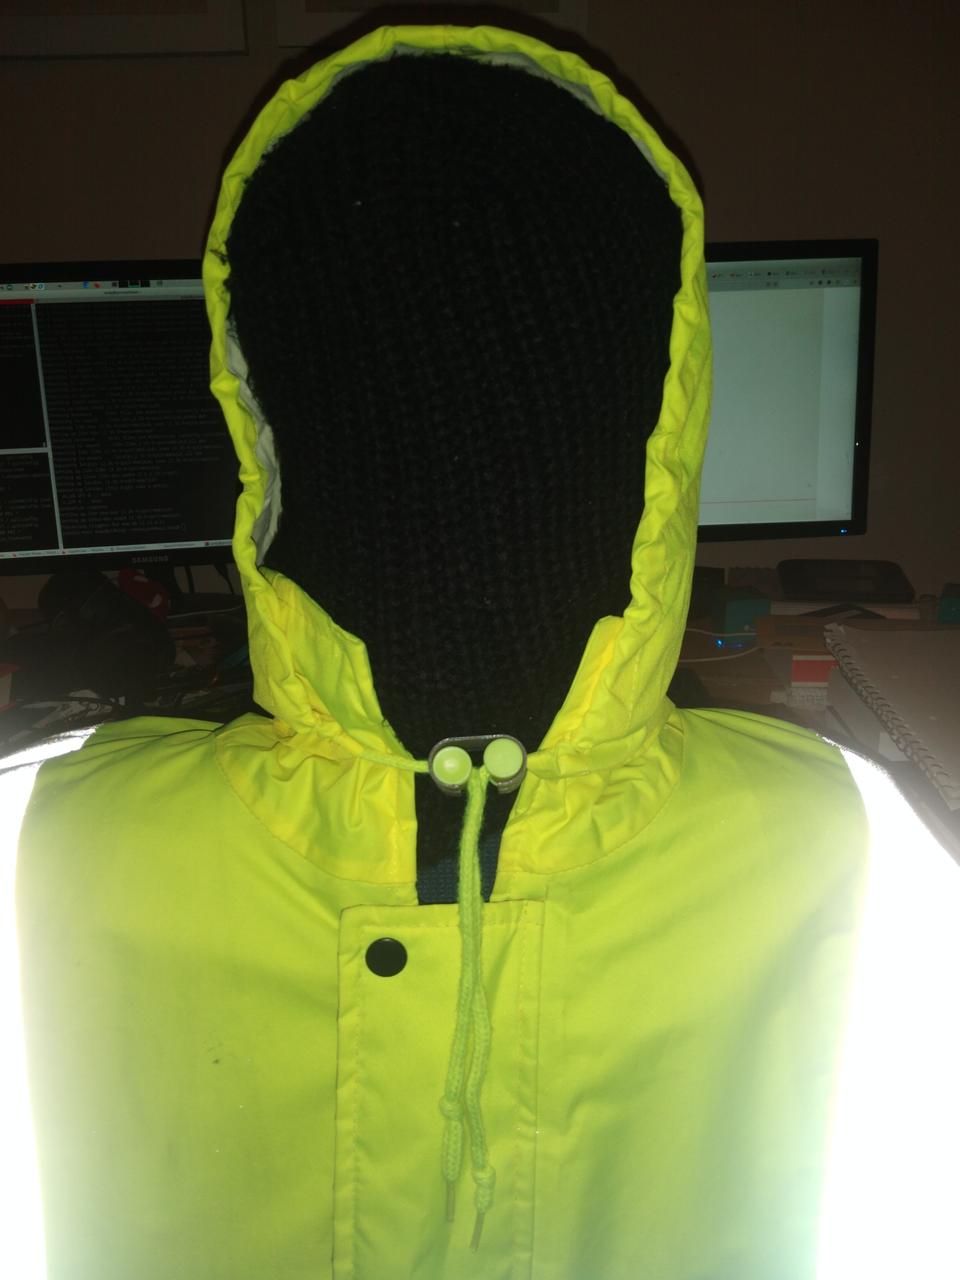
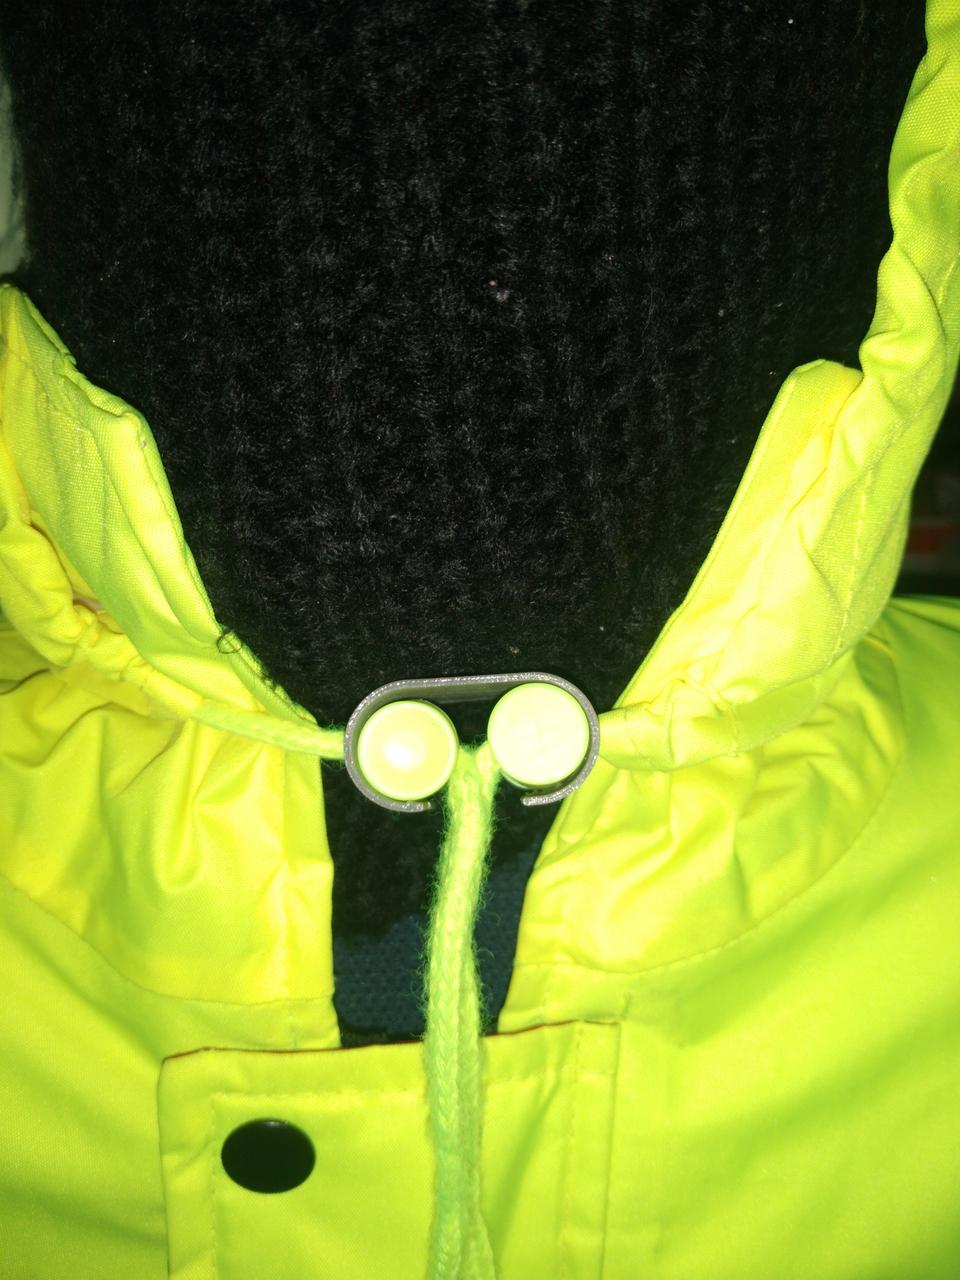
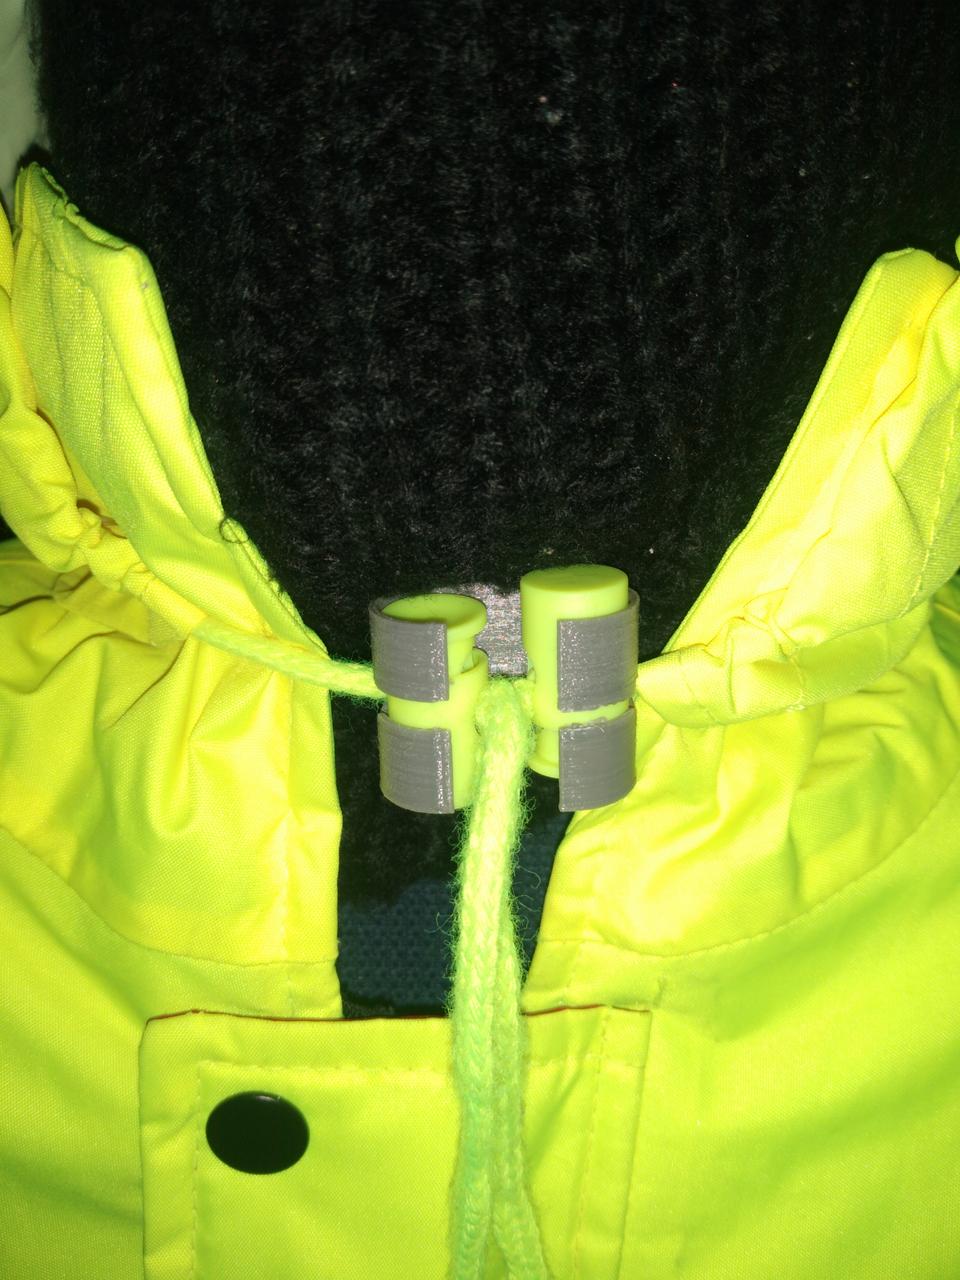
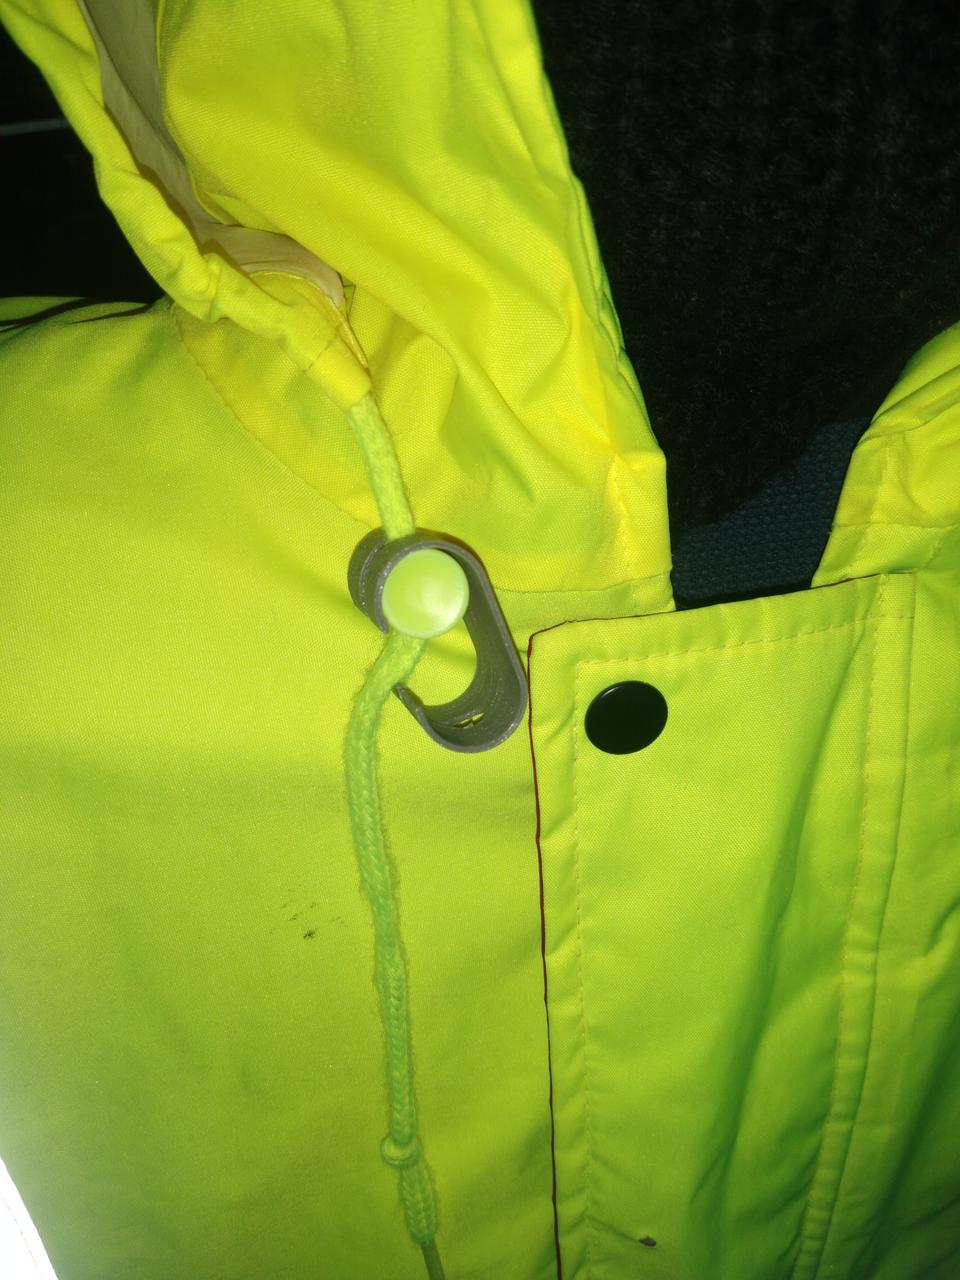
I'm hoping it'll stay in place, because the slit for the drawstring is a bit wider than I'd planned, due to a few layers coming off with the supports. It wasn't enought to make me want to re-print it, but we will see how it works in practice!