New Laser Cutter Workflow and New Designs
New Laser Cutter Workflow and New Designs
Hitting the CLI
I'm done with GUI laser cutter (or CNC) control software - I've gone all-in with CLI programs, and I love it. CLI things always seem to make more sense to me anyway!
But I'm not sure if I'm "there" yet, but with my latest tweaks to my workflow, and I feel I've now landed up somewhere more sustainable and comfortable. I had a look at the GRBLHud github site and noticed that the author, Johannes Noordanus, makes several other G-Code related utilities, in particular, ImageToGcode and SvgToGcode. At first, I thought they were just Python libraries, but it turns out they both have CLI interfaces, so you can just run them as commands - SvgToGcode's CLI command is named "svg2gcode". It turns out that SvgToGcode can also handle raster images directly, so I don't even need to use ImageToGcode myself - I can just use SvgToGcode, and it will spit out the paths and rasters. It will even split out the paths and the rasters to separate files if you tell it to, which is great for doing a graphical engrave, and then a cut around it. The laser power and feed rate are independent, too which means it produces a much simpler workflow. After playing round with that for an hour or two, I realised I could simply drop the Inkscape GCodeTools extension I mentioned I had been battling with in my previous post. With SvgToGcode, I no longer have to mangle the output G-Code to suit my GRBL laser - I can just pump it directly to the USB port using GRBLHud. I seldom have to edit the G-Code, at least for the purposes of correcting it, either - it's mainly for amending it - changing things like the laser power or feed rate. And it even controls the air-assist, though more on that later.
I could never get either LaserGRBL or UGS to handle rasters at all. I know, I didn't try very hard, but it really shouldn't be hard. The best I got out ot UGS was to outline trace raster images, but I could never get it to engrave the raster. Well, I got some kind of results on my first try with SvgToGcode, even though it did take quite a lot of tinkering to make it work with my laser. I think that the characteristics of mine must differ greatly from whatever Johannes has, so that's likely the root cause. After some experimentation, I got usable results by upping the lower threshold and maximum laser power, and I've since "optimised" my settings to get a decent output speed and "dark enough" etching. Early on, I was having problems with a kind of "ghosting" around images - dots being burnt away from the edge of the image, and I emailed Johannes about this - he responded quickly, and kindly, asking for some examples. This spurred me to investigate further, and then I discovered that Inkscape's seems to default to 96 DPI resoloution - like used on old CRT displays, but the laser's effective resolution is closer to 300 DPI. Through my own carelessness, I had managed to try to render chunky 96 DPI images on the laser, and SvgToGcode did the best it could with what I'd given it.
I think I have only one "complaint" about SvgToGcode - and that is pretty minor, too - the fan control - it's either on or off - there is no differentiation between vectors, meaning cuts, where you definitely want the fan on, and rasters, meaning engraving, where you defintely want the fan off. This is because for cuts, the air assist makes for a cleaner and faster cut, but with raster engraving, it causes a smoky smudge around the edges of the raster. So, because of that, I still need to modify the G-Code slightly to remove the "M8" commands from the raster engrave part of the job. The split output option makes this a simple matter because it appends "_images" onto the end of the filenames of the raster engrave part, so I just edit it out using vim, or run a "sed" command like this:
sed -i "/M8/d" *_images.nc
New workflow
My new workflow now looks like this:
- Design in Inkscape.
- Run svg2gcode on the Inkscape .svg file to produce G-Gode file(s).
- If there are _image parts, remove the "M8" air assist commands.
- Run the G-Code through grblhud to stream it to my laser, sending the _image file first if I have one, so that the engrave is done before the cut.
Object cut order
This was something that bugged me with Inkscape's GCodeTools, and I ended up writing a program to re-parse and rearrange the G-Code automatically. I might yet revive that tool, but at the moment, I've manage to work out what drives the path cutting order in SvgToGcode - it's simply the object Z-order, or layering. The lower an object is in the z-order, the earlier it is "drawn" - so for small cuts that need to be done before a larger enclosing cut, they just need to be "under" it. This means that I can control it directly in Inkscape, too, and so I'm not even using my fix-gcode script any more. Not that I can with the output of svg2gcode, because the format of the G-Code is differnet, so my program can't currently recognise where one object begins and ends. If doing it manually in Inkscape starts to grate on my nerves, I'll probably rework it, but I guess I could just write an Inkscape plugin instead...
New designs
This has all happened in parallel with a load more projects, and I'm pleased to say that I'm finding the process far less frustrating. The tools I'm now using feel like they're working for me, rather than against me. The first thing I made using ImageToGcode was a birthday present for my dad. I was stuck for ideas, and remembered that a couple of years ago, I made him a wall sign themed on his favourite Prog Rock bands - "Paul's Prog Rock Lounge" with my best rendition of the bands' logos, mounted on a dark background, in a frame. I've not had access to a laser cutter for quite a while, until very recently, so I thought I'd do a re-take on that idea. My dad is also a Coffee enthusiast, and has his own "home barrista" setup, so I made a "Paul's Prog Rock Cafe" sign, smaller, with a different arrangement. He seemed to like it, even though I made a number of newbie mistakes, and hadn't quite got the laser settings right at that point.
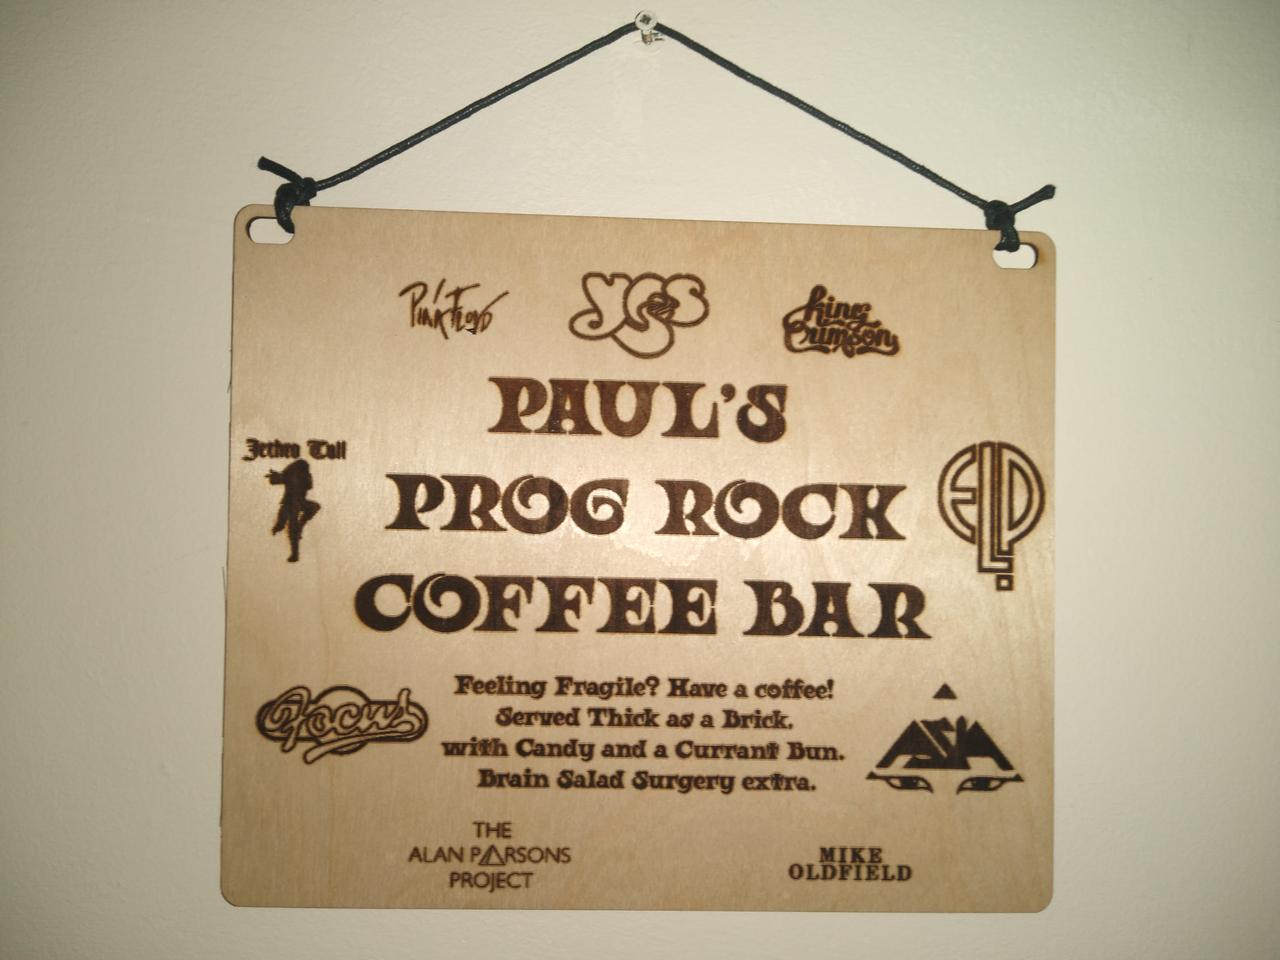 Paul's Prog Rock Coffee Bar plaque featuring a number of band logos.
After that, I'd got bored with making Goblin Cottages, and made an A4-Sized illuminated sign, back lit with strip LEDs:
 Unlit illuminated sign, reading "Just vibin...".
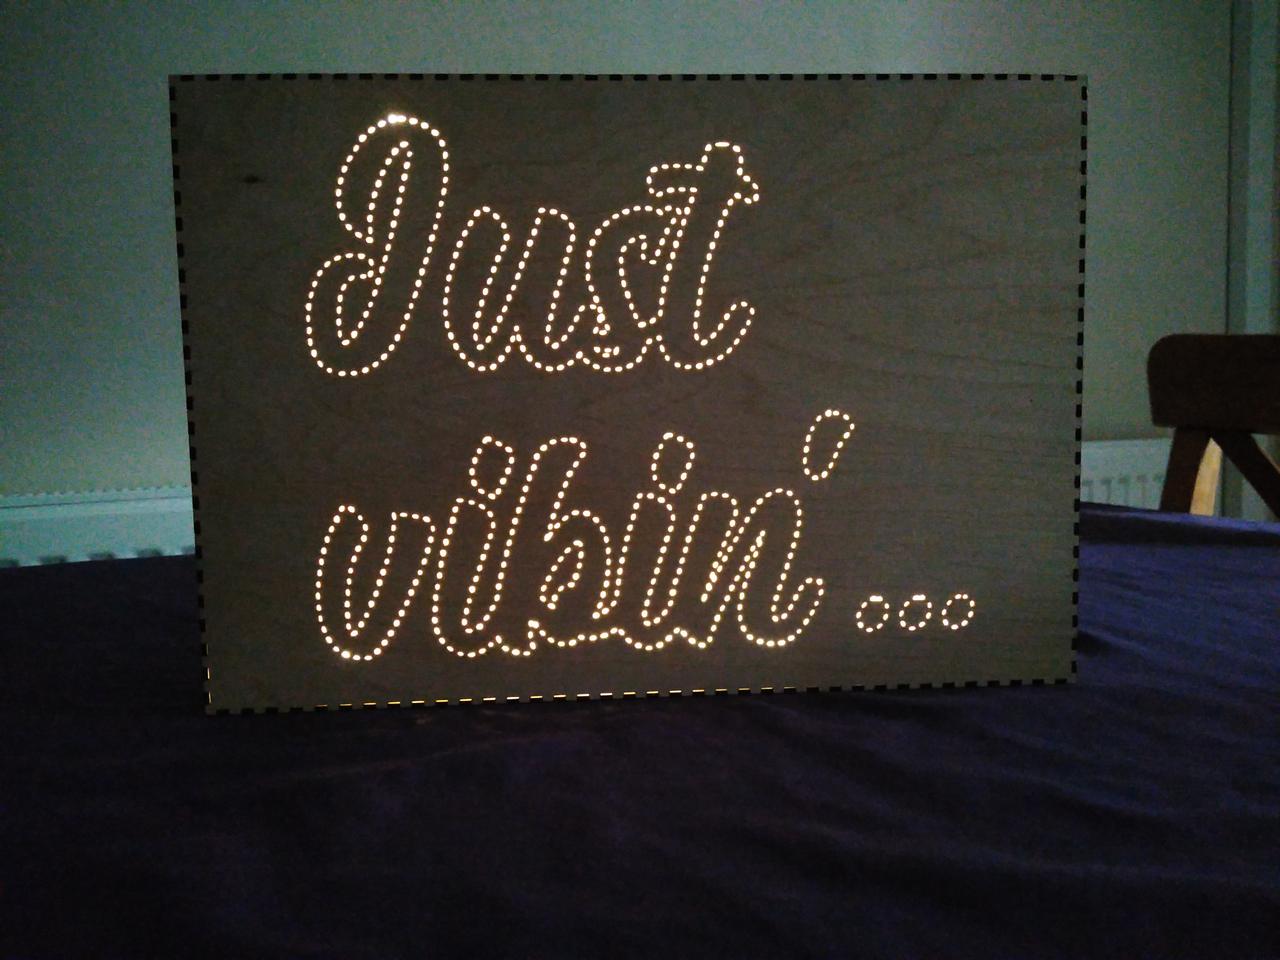 Lit illuminated sign, reading "Just vibin...".
It uses stock LED strip lights, powered by 3 AA cells in a battery box glued to the back:
I'm doing a trial craft fair stall to hawk my laser-cut wares, so I've done a number of trinkets for that: keyfobs, badges, fridge magnets and so on. This is not what I'm hoping will be my main theme, but it's good practice for trying to make consistent batches of things:
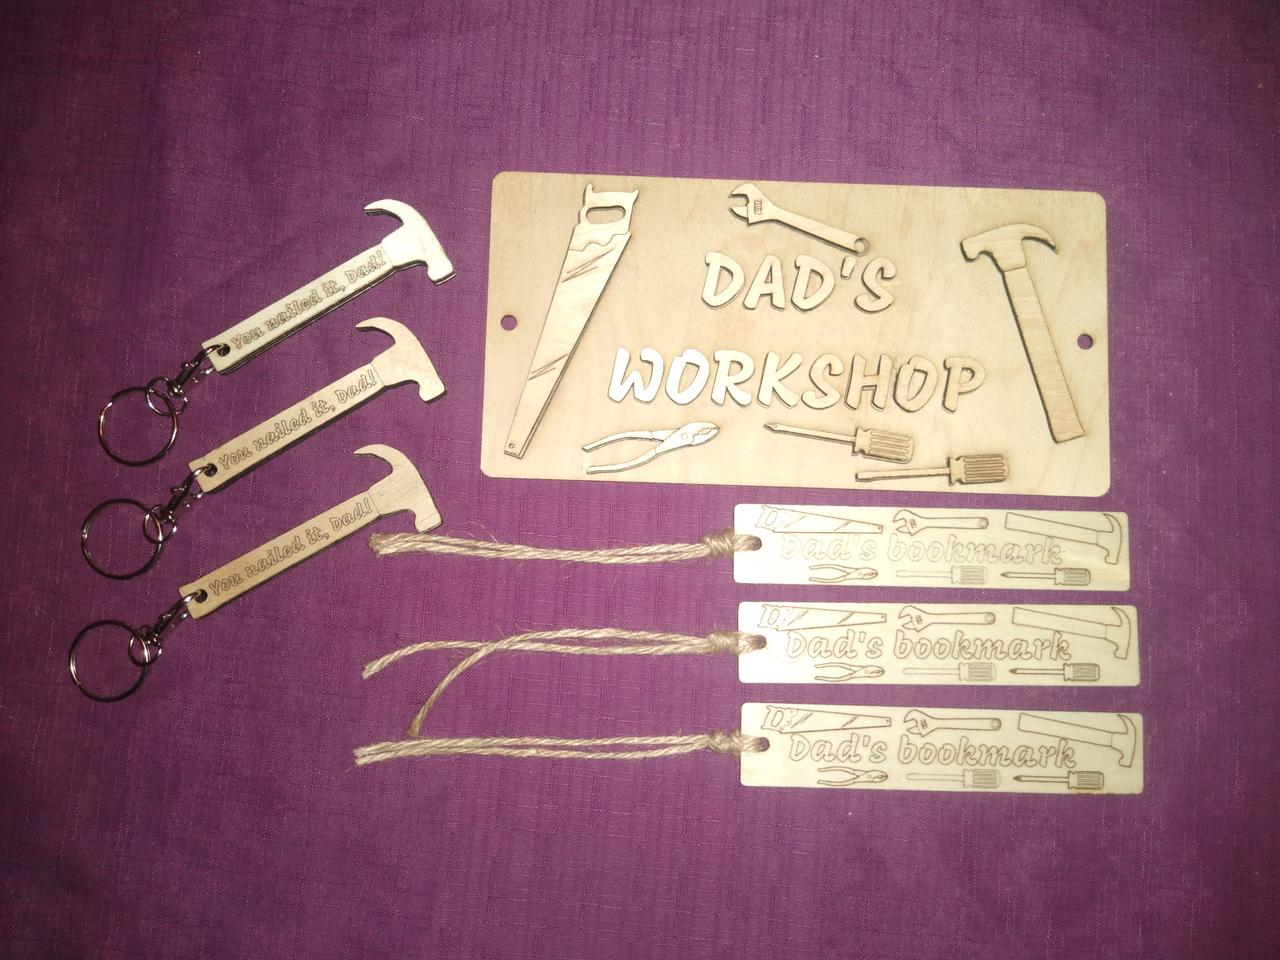 Father's day themed trinkets, showing "You nailed it dad" hammer shaped keyfobs; Dad's workshop door sign, and "Dad's bookmark" bookmark, featuring 6 hand tools.
Then I thought of doing some illuminated letter "bunting" and came up with this:
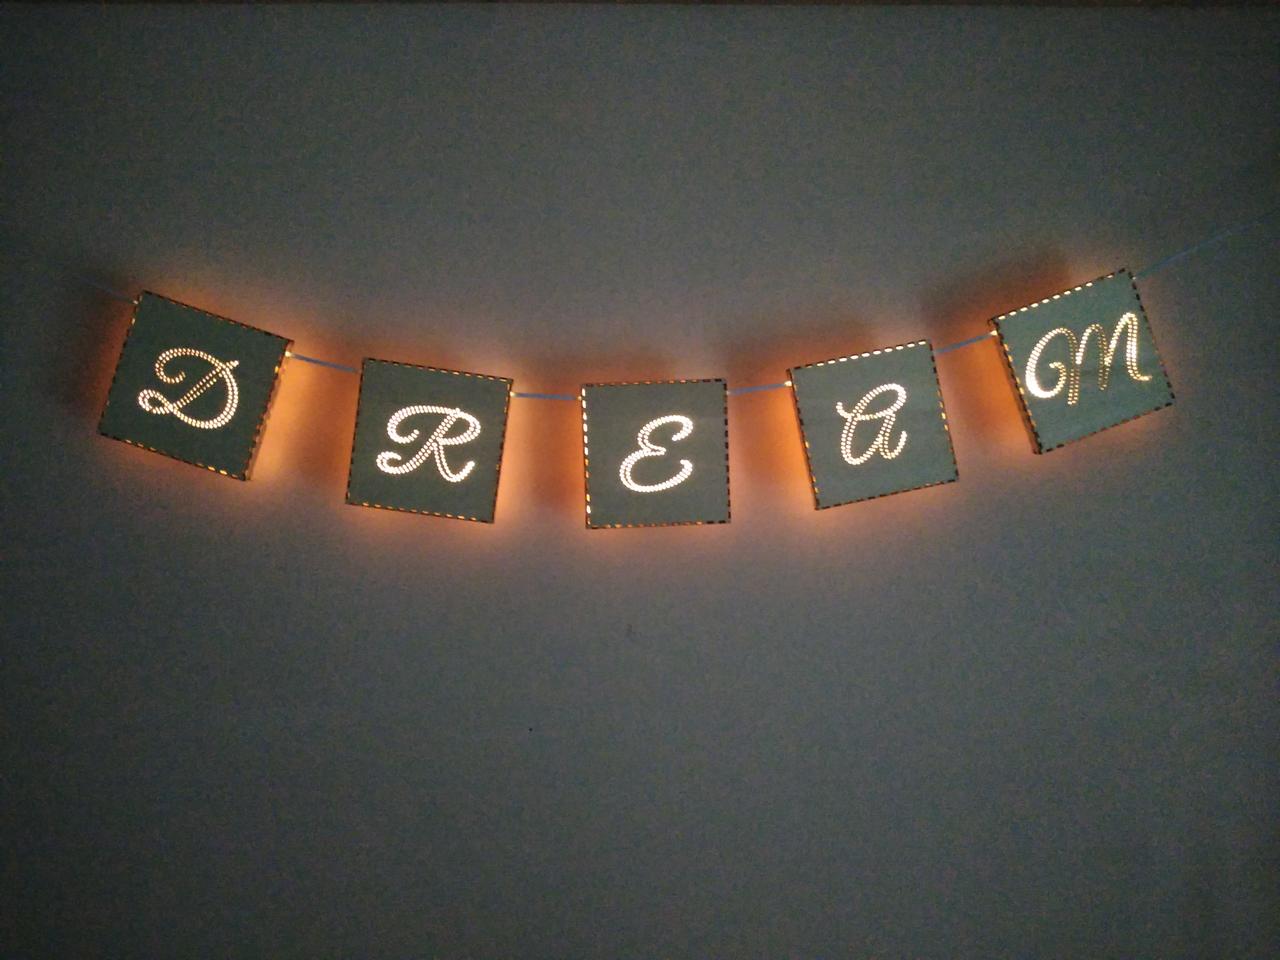 DREAM illuminated bunting.
This was more complicated, because I had to cut up the LED strip into small 10cm segments and tack them back together by soldering sections of twin core wire between each section. Took way longer than I had expected, but it seems to work nicely.
More recently, it was my wife's birthday, and we have this tradition of making cards for each-other, so I felt I just had to make something on the laser. Quite pleased with the result, though, and my wife seemed to like it too, which is fortunate!
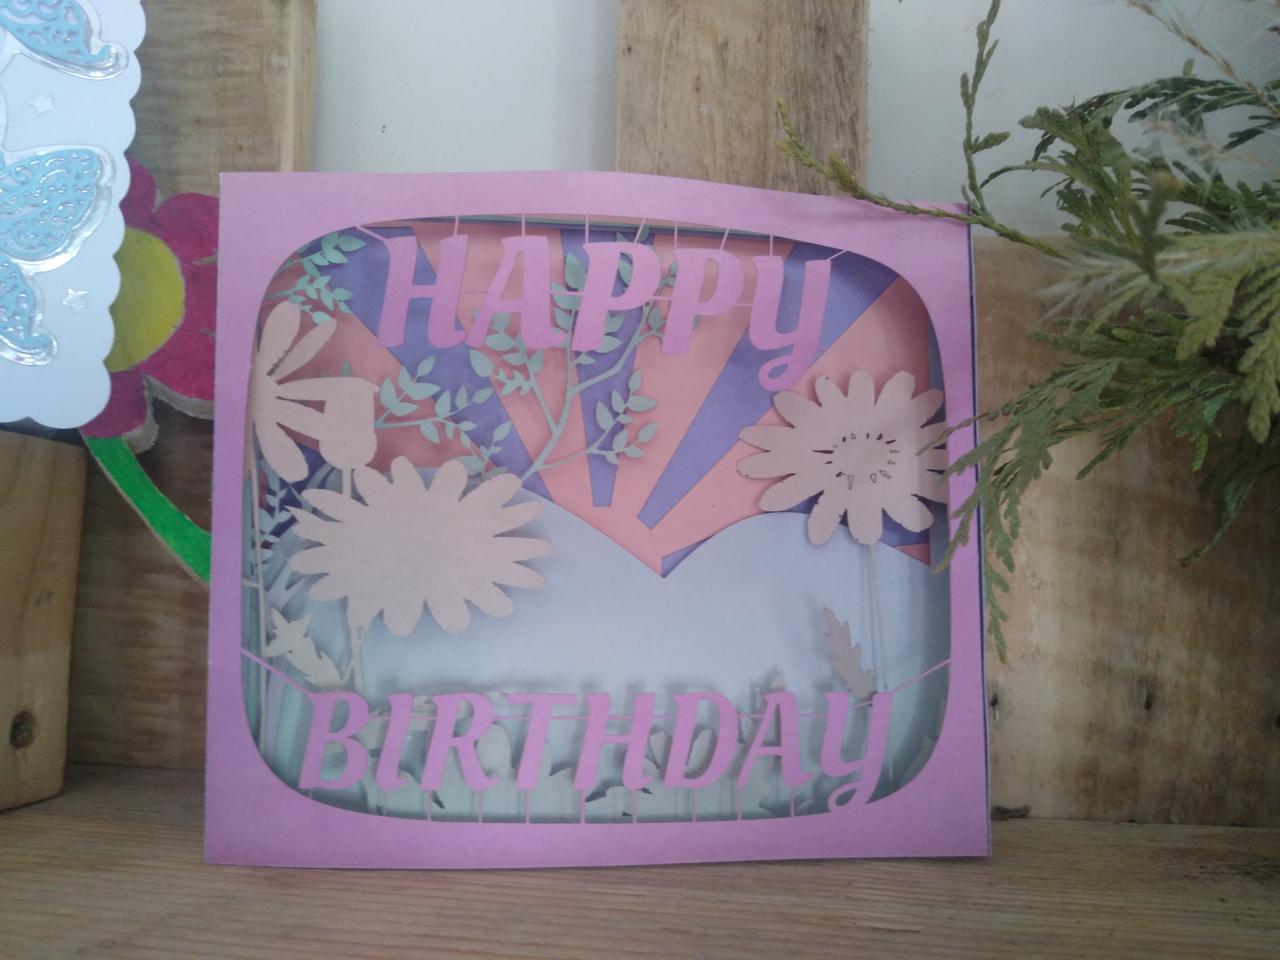 Five layer birthday card.